

If you’re obsessed with soft-serve ice cream and love the rich flavor of maple, you need to try this Maple Creemee recipe made with only 3 simple ingredients. Tastes just like a classic Vermont maple creemee, but with far less sugar and calories, and more protein. Only 100 calories with 7g protein per serving, refined sugar-free, and shockingly creamy thanks to the cottage cheese base. And no, you can’t taste the cottage cheese at all!

This 3 ingredient cottage cheese ice cream has quickly become one of my go-to Ninja CREAMi recipes. It’s so easy to make and has the dreamiest texture that feels just like a real maple creemee.
Why This Maple Creemee Recipe is the Best
1. Soft-Serve Texture Straight from the Ninja CREAMi
This recipe creates an unbelievably creamy soft-serve texture without any gums, stabilizers, or churners. It’s super smooth and scoopable—no icy bits or weird texture.
2. Only 3 Simple Ingredients
With just cottage cheese, maple syrup, and milk (or cream), it’s quick to prep and easy to customize. Plus, no bananas, protein powder, or complicated add-ins required.
3. Tastes Just Like a Maple Creemee
If you’ve ever had a maple creemee in New England, you know how good they are. This maple creemee recipe tastes just like it, with a protein-packed twist.
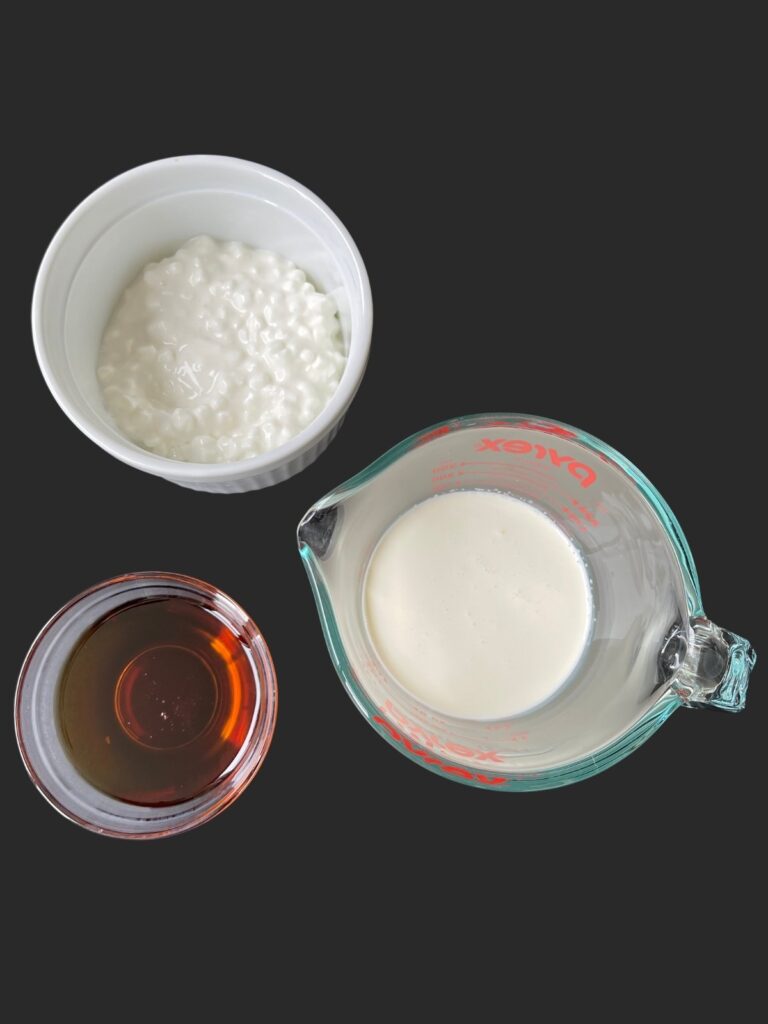
3 Ingredient Breakdown
Cottage Cheese
This is the base of the recipe and gives the ice cream a delicious creamy texture. It may sound unusual, but when blended, cottage cheese becomes incredibly smooth and rich and has a very mild flavor. I recommend using a full-fat version for best results, but low fat can be substituted.
Pure Maple Syrup
Pure maple syrup brings that signature maple creemee flavor. It sweetens the ice cream naturally while adding depth and warmth you won’t get from other sweeteners. You can adjust the amount based on desired sweetness and strength of maple flavor, as I find that different maple syrups can have different amounts of sweetness and flavor. I use a Grade B dark amber maple syrup for the most robust maple flavor. For a more delicate maple flavor, use Grade A light amber syrup. You may be able to use sugar free syrup, but I have not tested it yet.
Milk or Cream of Choice
This helps thin the mixture just enough so it blends smoothly and freezes properly. I usually use half and half or whole milk, but feel free to use your favorite milk, cream, or non-dairy milk option of choice.
Want to save this recipe?
How to Make 3 Ingredient Maple Creemees
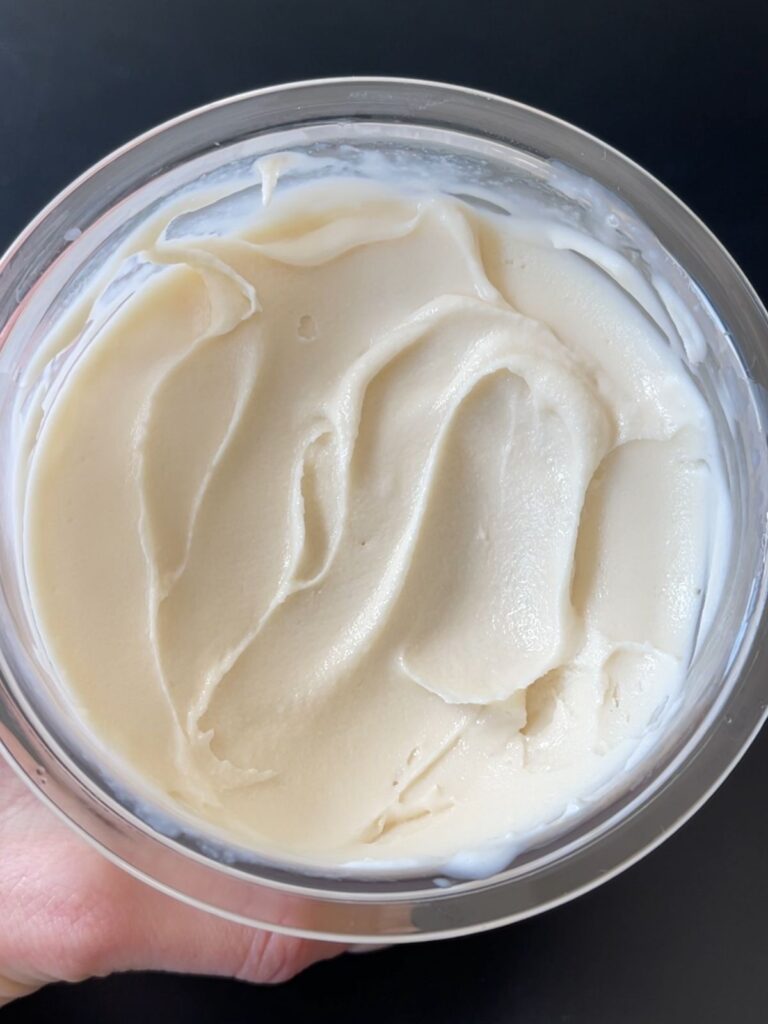
Step 1: Blend the Ingredients
Add the cottage cheese, maple syrup, and milk or cream to a high-speed blender. Blend until completely smooth and creamy with no lumps remaining. It should look like a rich, maple-flavored custard. Taste, and add additional maple syrup if desired.
Step 2: Pour Into Ninja CREAMi Container
Transfer the blended mixture into your Ninja CREAMi pint container. Be sure not to overfill—leave some space at the top.
Step 3: Freeze for 24 Hours
Place the lid on the container and freeze it on a flat surface for at least 24 hours. This step is key for the Ninja CREAMi to process the ice cream properly.
Step 4: Spin Using the Lite Ice Cream Function
Once fully frozen, insert the pint into your Ninja CREAMi machine and spin it on the Lite Ice Cream setting. After the first spin, check the texture—if it looks crumbly, add a splash of milk or cream and respin.
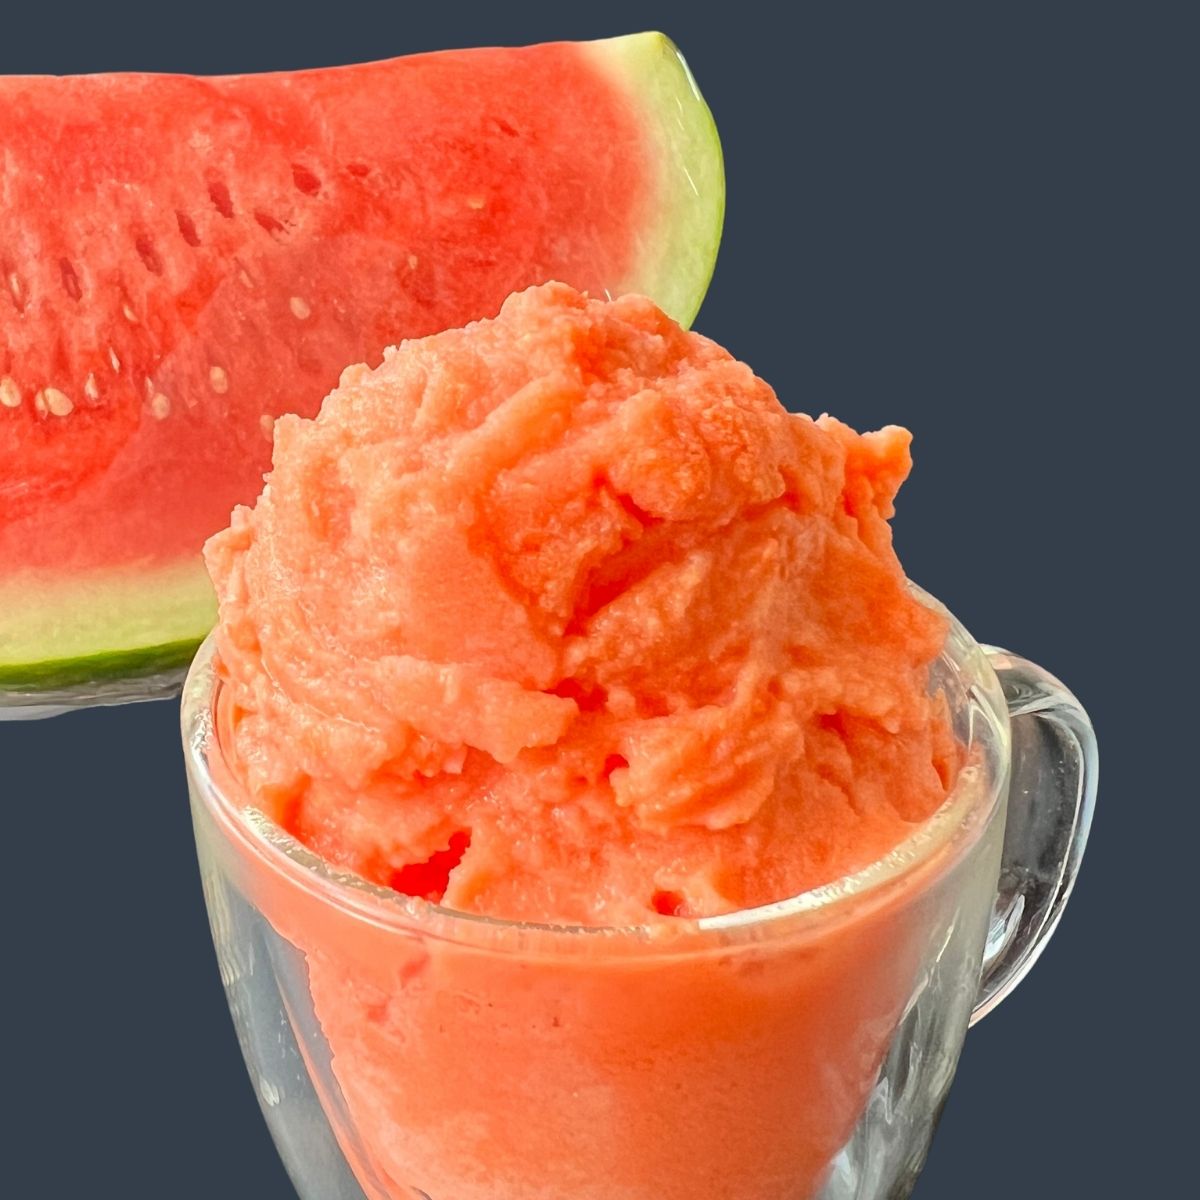
Step 5: Serve and Enjoy
Scoop into a bowl or cone and enjoy immediately. The result is rich, soft-serve style cottage cheese ice cream that’s full of maple creemee flavor.
Tips for Success
- Use Full-Fat Cottage Cheese – Low-fat versions can get icy. Full-fat cottage cheese gives the creamiest texture.
- Blend Until Completely Smooth – Take your time blending to make sure there are no curds or chunks left behind.
- Don’t Skip the Freeze Time – Freezing the mixture for a full 24 hours ensures the Ninja CREAMi can turn it into real ice cream.
Maple Creemee Flavor Variations
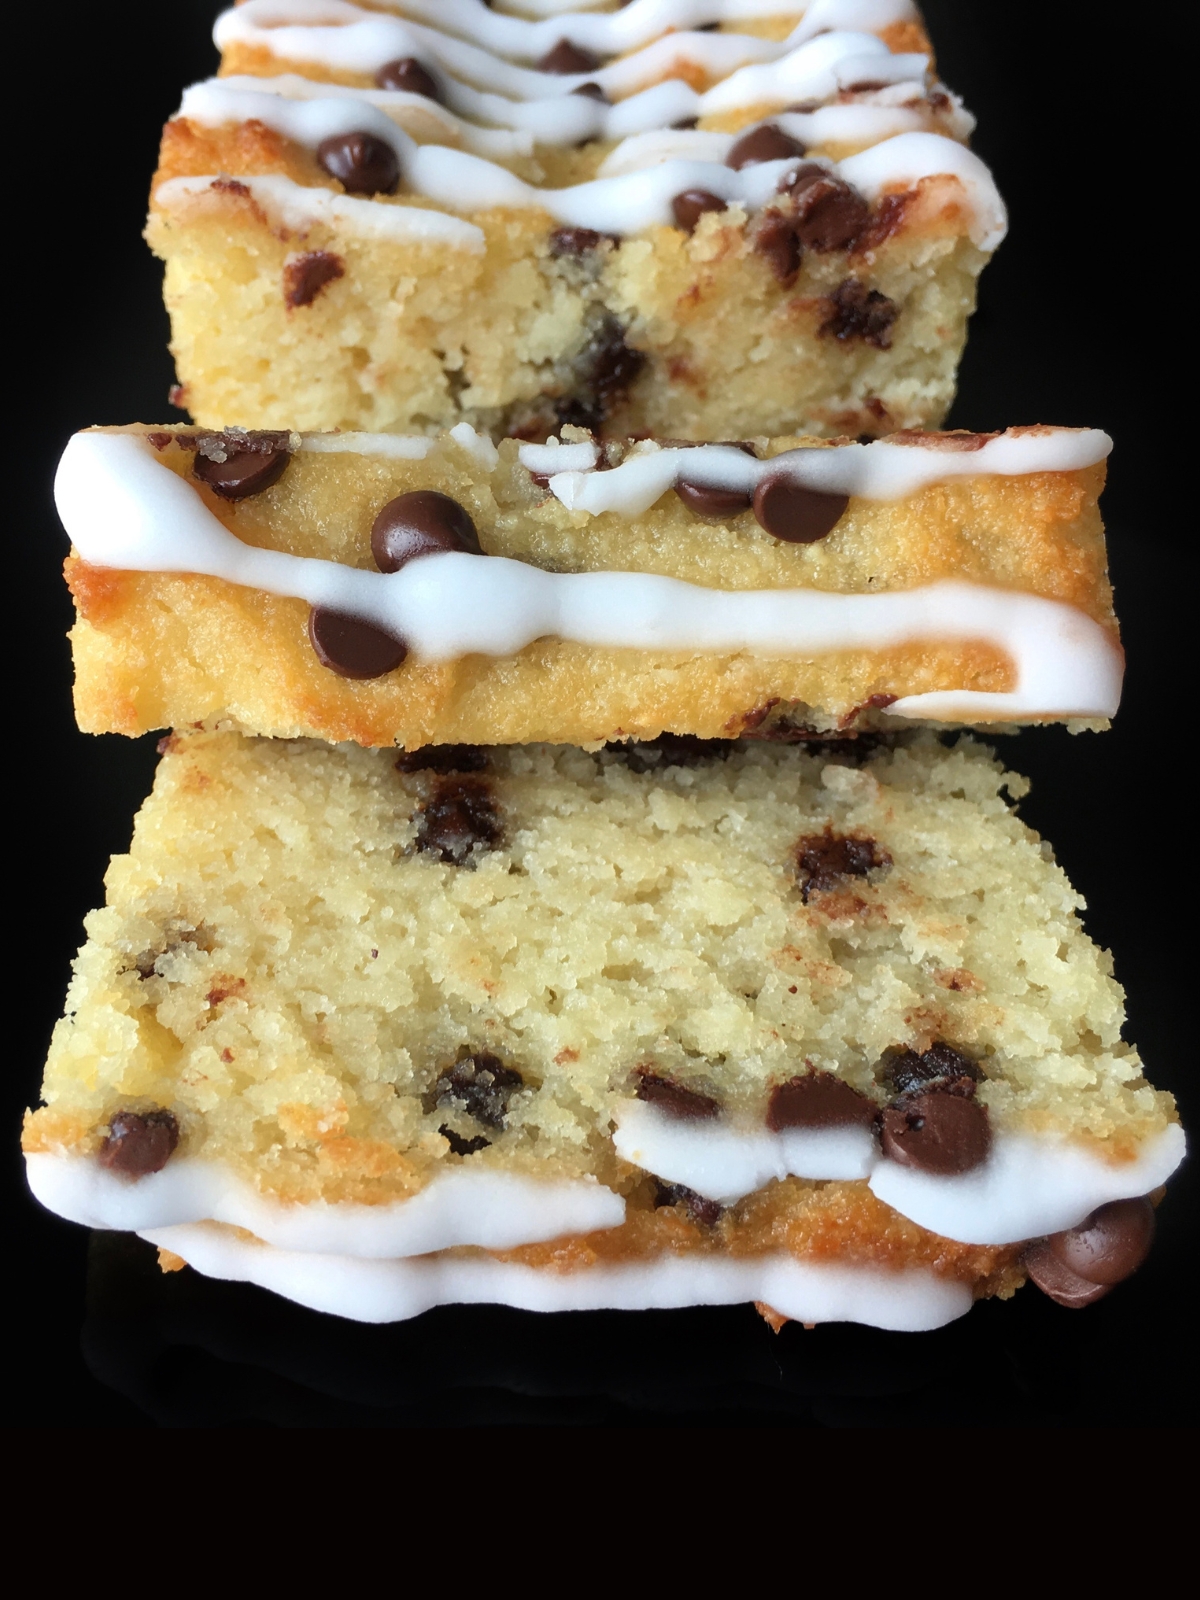
Chocolate Chip Maple
Add mini chocolate chips or chop up a chocolate bar and fold in after the first spin.
Maple Walnut
Stir in a handful of chopped walnuts after spinning for a maple walnut twist.
Maple Chai
Blend in a pinch of cinnamon, cardamom, and a tiny bit of ground ginger to give it a warm chai flavor profile.

FAQs
I recommend using the Ninja or another ice cream maker for best results. If you don’t have an ice cream maker, pour the blended mixture into an ice cube tray and freeze for 3–4 hours. Let it sit at room temp for 10–15 minutes, then re-blend in a high-speed blender or food processor until smooth and creamy. Enjoy right away as soft serve, or refreeze for a firmer version.
Not at all. Once blended and frozen, the cottage cheese flavor completely disappears, leaving you with a creamy, rich ice cream.
It’s lower in carbs than traditional ice cream but not technically keto since it uses pure maple syrup. You could experiment with sugar-free maple syrup, but I haven’t tested it yet! Check out my other ice cream recipes for keto options.
Yes! Just use two pint containers, and make sure each pint container isn’t filled beyond the “max fill” line.
Try This Maple Creemees Recipe!
If you’re curious about how to make cottage cheese ice cream that tastes just like a Vermont maple creemee, this is the one to try. It’s shockingly good for being so simple, and it’s quickly become a favorite in my freezer. I’m excited to continue creating more ice cream recipes, so let me know if you have any flavor requests!
If you make this recipe, I’d love to know what you think. Please leave a comment and star rating below, and tag me on Instagram if you post a photo!
XO,
Sarah

3 Ingredient Maple Creemee Ice Cream
Want to save this recipe?
Ingredients
- 1 ¼ cups cottage cheese
- ¼ cup pure maple syrup
- ½ cup milk or cream of choice
Instructions
- Blend the ingredients: Add cottage cheese, maple syrup, and milk or cream to a small blender. Blend until smooth and creamy, scraping down the sides if needed. Taste the mixture, and add additional maple syrup to taste if more sweetness or maple flavor is desired.
- Freeze until solid: Pour the blended mixture into a Ninja CREAMi pint container. Cover and freeze on a level surface for at least 12 hours, or until fully frozen.
- Process Ice Cream: Remove the frozen pint from the freezer. Insert it into the Ninja CREAMi outer bowl, attach the paddle and lid, and spin using the “Lite Ice Cream” setting.
- Re-spin if needed: If needed, re-spin until it reaches a smooth, soft-serve consistency.
- Scoop & Enjoy! Store in the freezer, and re-spin before serving to bring it back to a soft serve texture.
Notes
- Cottage cheese: Use full-fat cottage cheese for the creamiest texture and best flavor, however low fat can be substituted. Good Culture or Daisy are my go-to brands.
- Maple syrup: Make sure to use 100% pure maple syrup to get that authentic maple creemee flavor. You can adjust the amount based on desired sweetness and strength of maple flavor, as different maple syrups can have different amounts of sweetness and flavor. I use a Grade B dark amber maple syrup for the most robust maple flavor. For a more delicate maple flavor, use Grade A light amber syrup. You may be able to use sugar free syrup, but I have not tested it yet.
- Milk or cream: I usually use half and half or whole milk. Any milk, cream, or dairy-free milk alternative will work.
- No Ninja CREAMi? I recommend using the Ninja or another ice cream maker for best results. If you don’t have an ice cream maker, pour the blended mixture into an ice cube tray and freeze for 3–4 hours, then re-blend in a high-speed blender or food processor until smooth and creamy. Enjoy right away as soft serve, or refreeze for a firmer version.

I was skeptical about using cottage cheese in ice cream, but now officially a believer! This tastes exactly like a maple creemee!
Can you make this in a cuisinart ice cream maker
That would probably work! I haven’t specifically tried the cuisinart ice cream maker with this recipe.
Unbelievably good and so simple !
Love this!
Officially on the cottage cheese ice cream bandwagon! Shockingly good
Marry me !!!!! I love your recipes
Not sure how you came up with those calories but when I plug in the ingredients it seems to be closer to 140 calories per serving. Are you using 2% cottage cheese and 2% milk because that is how I could get it to those calories.
Hi Serana! You’re right, using full fat milk and cottage cheese will result in slightly more calories per serving (around 30). Looks like the inputs the recipe card used here for the nutritional calculations here were for slightly lower fat options. The calories will always vary slightly depending on the specific brands and types of cottage cheese/milk you use. Either way, the difference is usually pretty minimal. Sorry for the confusion, I’ll make sure to add more detailed notes on this to the post!
Could walnuts be added at some point? I love maple walnut ice cream!
Yes definitely! I would add them in after processing in the creami and use the “mix in” cycle.